
Guide To De-Winterizing Your Home
If you have a vacant property that you winterized this year, you may be wondering what you should do now that spring has arrived. De-winterizing is not as easy as just turning everything back on. However, with our guide to de-winterizing your home, it won’t be difficult either.
De-winterizing is a laborious process that requires extensive plumbing work. You can do this yourself, but if you are unsure of your abilities, it is always good to hire professionals to assist you. This way, you don’t have to worry about anything going wrong. However, if you are adamant about doing this yourself, we will outline the steps you need to take.
Step one: Get the necessary tools
As with any plumbing job, you must first prepare your tools. The following are the four main items you will require to complete the task:
- A set of wrenches: You will be doing a lot of pipework, so it is no surprise that you will need wrenches of different sizes.
- Pliers: Although pliers may appear unnecessary in a plumbing scenario, they are always a good idea to have on hand because they provide flexibility that wrenches do not.
- An Owners’ manual for appliances: If you have the owners’ manual on hand, you can use it to manage your way around devices. However, if you cannot find the manual, you can always look for it online.
- Flashlight: It is a good idea to carry a flashlight with you if you need to reach into poorly lit areas.
Step two: Secure your furniture
After you’ve assembled your tools, there’s one more thing you should do before you begin. If you have furniture in the house, you should consider securing it somehow. This is because plumbing, particularly after a cold winter, can result in pipes breaking and flooding.

Because of this, Pack & Go Movers advise you to rent out a storage unit for your furniture. It is an ideal option because your belongings will be safe while you are de-winterizing your home.
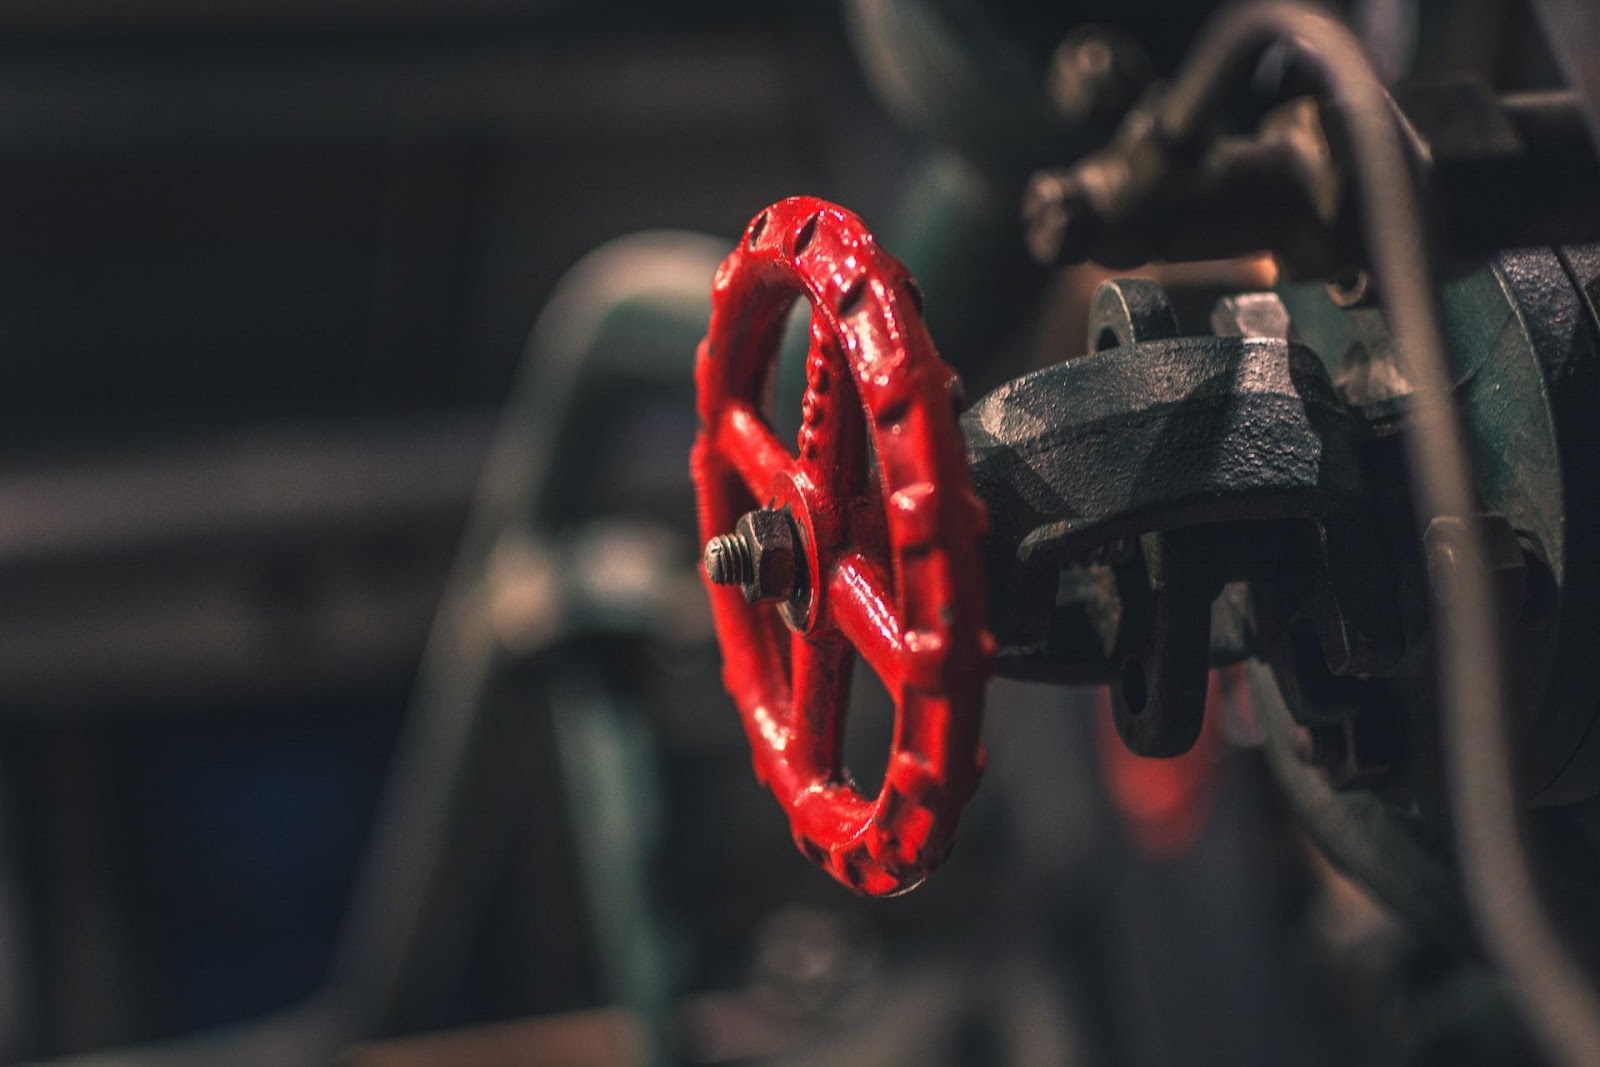
Step three: Switch on the main water supply
Turn on the main water supply gradually until it is about halfway open. This valve is often located at the main entry pipe bringing water to the residence. If there is a utility sink next to the main shutoff valve, turn on its shutoff valve and open the faucet while gradually turning on the main water supply. As the pipes refill with water, the trapped air will be released.
Afterward, turn on the water heater and boiler’s water supply if they were turned off during winterization. This is usually done at valves on the pipes that flow to and from the appliances. Follow the manufacturer’s instructions for filling these appliances, which may include opening escape valves to enable trapped water to depart as they fill up.
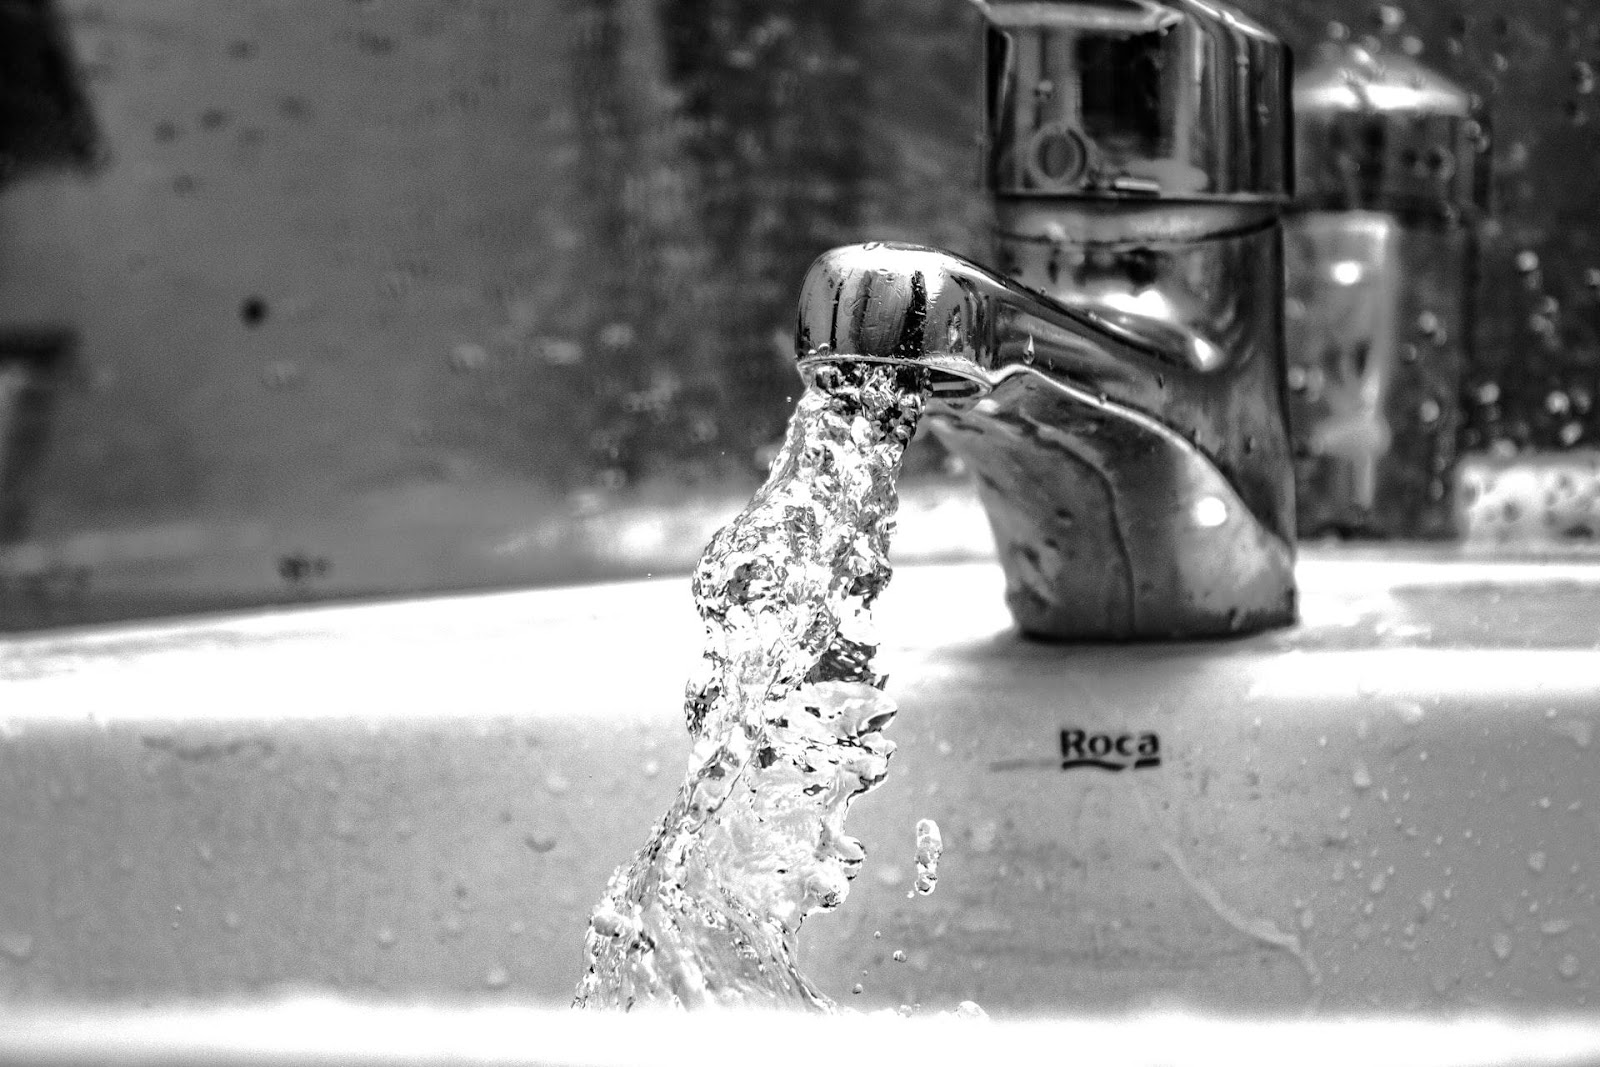
Step four: Turn on the plumbing fixtures one by one
Inspect each plumbing fixture in each room with the main water supply valve about halfway open. Open the fixture shutdown valve first, then the faucet on each fixture. As trapped air in the pipes exits, air will likely burst out of the tap. The initial water flow may be loud, and there may be intense splashing; this is typical. You can turn off the faucet when the water is steady and clear. Check for leaks in the fixture shutdown valves and tighten any dripping or actively leaking joints. Bring rags or paper towels with you when inspecting these fixtures in case of a little leak.
Check all fixtures for water supply restoration, including refrigerator icemakers, water filters, dishwashers, and so on. You should test the toilets to ensure that they are working correctly. When toilet tanks lie empty for an extended time, the seals on the flush valves may harden, preventing the toilet tank from properly closing at the end of each flush cycle. Problems with a toilet tank may not appear to be a big deal at first, but they can lead to more significant issues later on. It is critical to ensure that everything is in order. When all fixtures appear to be in good working order, switch the main water supply valve to the completely open position.
Step Five: Do a final check
After you’ve turned on and connected the system, take a stroll around every room to check for leaks. If you discover any leaks, it is wise to have a qualified plumber inspect the system. If there are no leaks, you may reinstall all of the faucet aerators and switch on the water heater once it is full. With that done, you have finally de-winterized your home. If you added antifreeze to the floor drains, pour a gallon or two of water down each drain to flush it out. The antifreeze will be purged from the traps and toilet with the initial usage.
Conclusion
Now that you have done everything, you can continue using the house as you please. As you can see, plumbing is a very complex subject matter, and you should not take it lightly. We must reiterate if at any point during de-winterizing you noticed something unusual, you should look into it. It is always better to be safe than sorry.
With that said, we hope that this guide to de-winterizing your home will come in handy for you. Although it is not an easy task, with the proper guidance, it is doable.